Power a Marketplace with Bitski
We like to make things easy when it comes to creating, using and selling digital goods, so to illustrate how, we built a marketplace powered by the Bitski wallet experience! Today, you can login to your Bitski Wallet at bitski.com/explore and purchase NFTs from the Bitski Marketplace. However, we didn’t just stop at allowing consumers to buy NFTs, we also added capabilities for creators to build their own storefronts and sell NFTs! We hope this example shows you how seamless Bitski is in facilitating transactions of digital goods in the Web3 ecosystem.Get Started as a Creator
To create your Bitski creator account, visit creator.bitski.com. Click “Create a new Bitski account”. You will then see this view: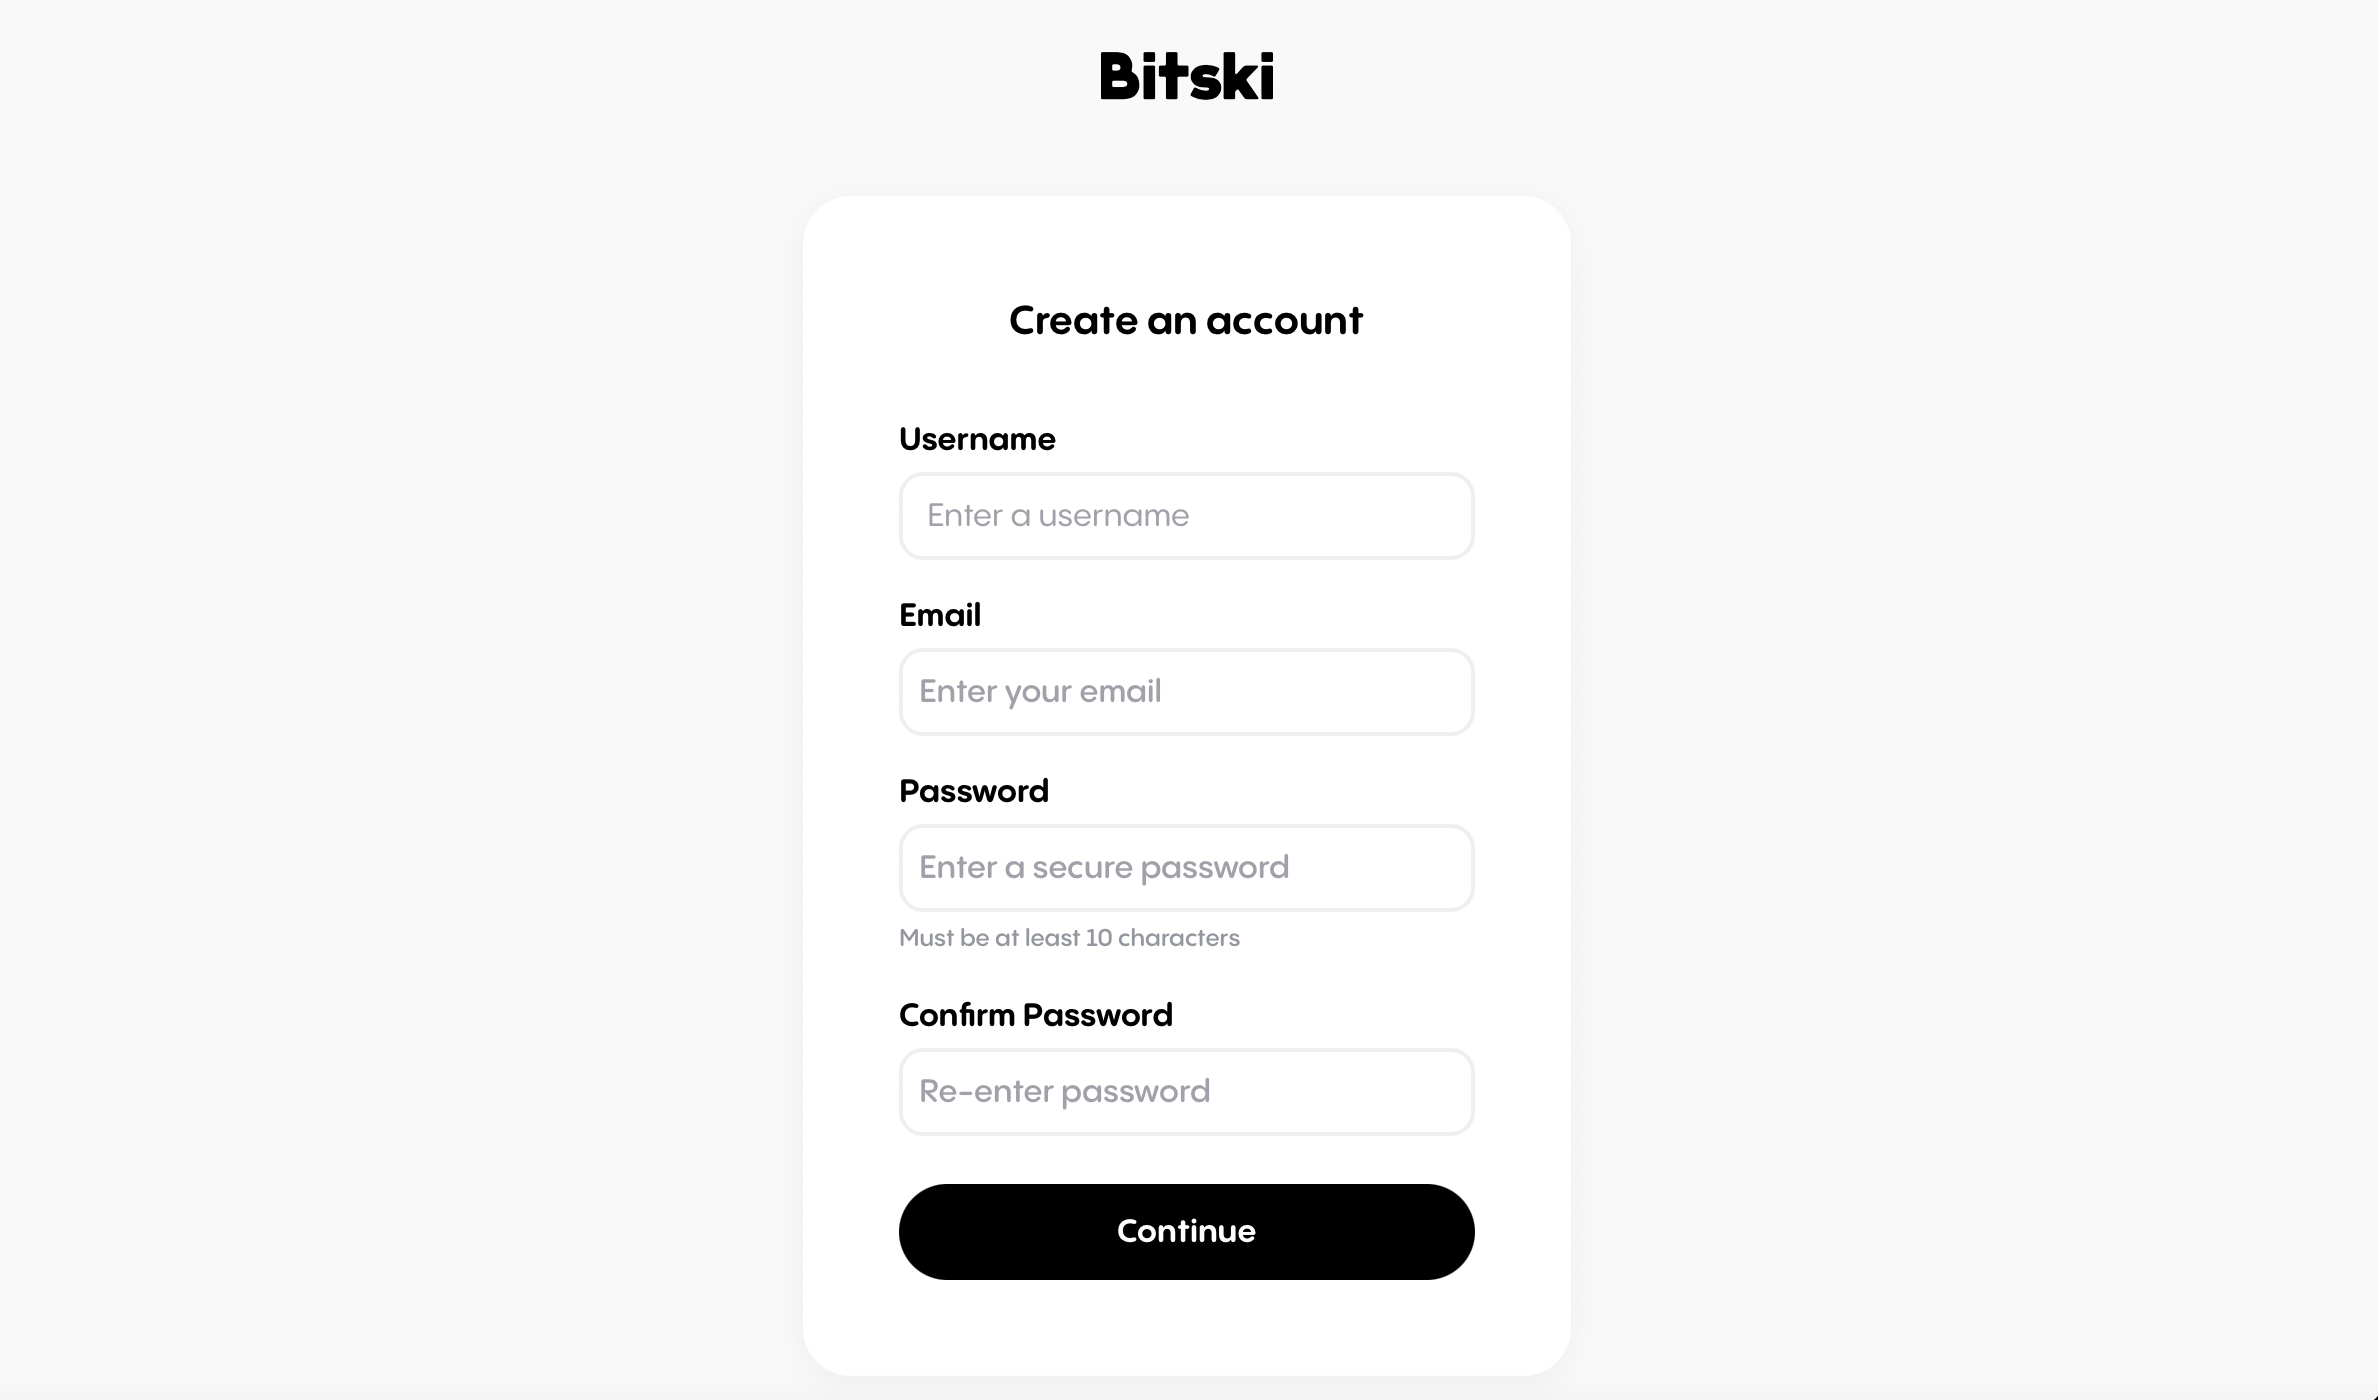
- Go through the onboarding flow to fill in details like your email, username, bank account and credit card details (or skip them for later!).
- ATTENTION: Keep in mind that the username you choose now will be part of your unique storefront URL and in the naming of your smart contract.
- Once you’ve filled everything out, you’re ready to start publishing your first product!
What is Bitski’s Creator Portal?
Bitski’s creator portal acts as a content management system (CMS) for you. This portal allows a creator to enhance their experience in selling their NFTs. We refer to this CMS tool as our creator portal and it has robust services for any creator to begin selling their NFTs. Through the creator portal, users can track sales activity, schedule, publish, create, manage and sell their NFTs to the world. Start your journey by creating an account with us at creator.bitski.com now!Create your Storefront
Once you create your Bitski creator account, you can get your own personalized storefront. Once you complete the onboarding process, Bitski will activate your unique storefront URL and deploy your smart contract. For more details on the smart contract, visit “Step 3 Create Your Collection”. Other things to keep in mind while creating your storefront:- Your URL will be in the format of
bitski.com/your-username - Your smart contract name will default to your username
- Your storefront includes an “About” section where you can input any information you feel is necessary
- Please note that your storefront’s name cannot be changed, so make sure to pick a name you can use now, and into the future!
Adding collaborators to your account
NOTE: It is a prerequisite for any collaborator to also set up a Bitski creator account. When you log into creator.bitski.com, adjust the URL from creator.bitski.com to developer.bitski.com. You will then get access to your developer portal. You will see a different dashboard view with the following tabs:- Overview
- App Info
- OAuth
- Backend Credentials
- Wallets
- Members
- Analytics